Have you ever tried to create the perfect deer feeder only to find it battling against the elements? It can be quite the frustration when your hard work is threatened by rain, snow, or wind. When you put in the effort to build something, it makes sense that you’d want it to last and remain functional. So, how do you ensure that your DIY deer feeder can stand up to the ever-changing weather conditions?

Understanding the Importance of Weatherproofing
Weatherproofing isn’t just a fancy word; it’s your assurance that the project you’ve worked so hard on will continue to serve its purpose. When you weatherproof your DIY deer feeder, you’re not only prolonging its life but also ensuring that the deer have consistent access to food, no matter the season. Think about it: How dissatisfying would it be to watch your hard work deteriorate due to a storm?
The Benefits of Weatherproofing
Before getting into specifics, let’s highlight a few benefits of weatherproofing your deer feeder:
- Longevity: A weatherproof deer feeder can last through several seasons, sparing you the hassle of frequent replacements.
- Functionality: Keeps the feed dry and prevents it from spoiling, ensuring that you’re providing healthy food options for deer.
- Cost Efficiency: Investing time in proper weatherproofing can save you money in the long run by reducing the need for repairs or replacements.
Choosing the Right Materials
The first step in weatherproofing your deer feeder starts with selecting the right materials for construction. Certain materials will inherently offer more durability against weather conditions.
Wood vs. Plastic vs. Metal
Each material comes with its advantages and disadvantages, so let’s break it down in a simple table for you.
| Material | Pros | Cons |
|---|---|---|
| Wood | Natural look; sturdy; can be treated for extra durability | Susceptible to rot and pests; may require regular maintenance |
| Plastic | Lightweight; resistant to rot; easy to clean | Can become brittle in extreme temperatures; may not blend as well with the environment |
| Metal | Very durable; resistant to pests; usually weather-resistant | Heavier; can rust if not treated properly; often more expensive |
Recommended Choices
If you live in a humid area, treated wood or sealed metal might be your best bet. On the other hand, in a drier climate, quality plastic can perform just as well while being lighter and easier to handle.
Sealants and Treatments
After selecting the materials, the next step involves applying sealants and treatments to augment their natural resistance to weather. This is where your chance to bake your project in protective layers comes in.
Types of Sealants
There are various types of sealants available in the market:
- Water-Based Sealants: These are easy to apply and clean up and are less hazardous compared to oil-based options.
- Oil-Based Sealants: They typically offer longer-lasting protection, but require more careful application due to their strong fumes.
Applying Sealants
When applying a sealant, ensure to follow the manufacturer’s instructions for the best results. Here’s a simple guide:
- Prepare the Surface: Make sure the surface is clean, dry, and free of debris.
- Apply a Generous Coat: Use a brush or roller to apply a generous coat of sealant evenly.
- Let It Dry: Allow the sealant to dry completely as per the manufacturer’s recommendations.
- Sand if Necessary: If uneven spots appear, lightly sand the area and apply an additional coat as needed.
Designing for Rain and Snow
Anticipating weather changes is crucial when designing your deer feeder. Here are a few design secrets to think about.
Sloped Roof
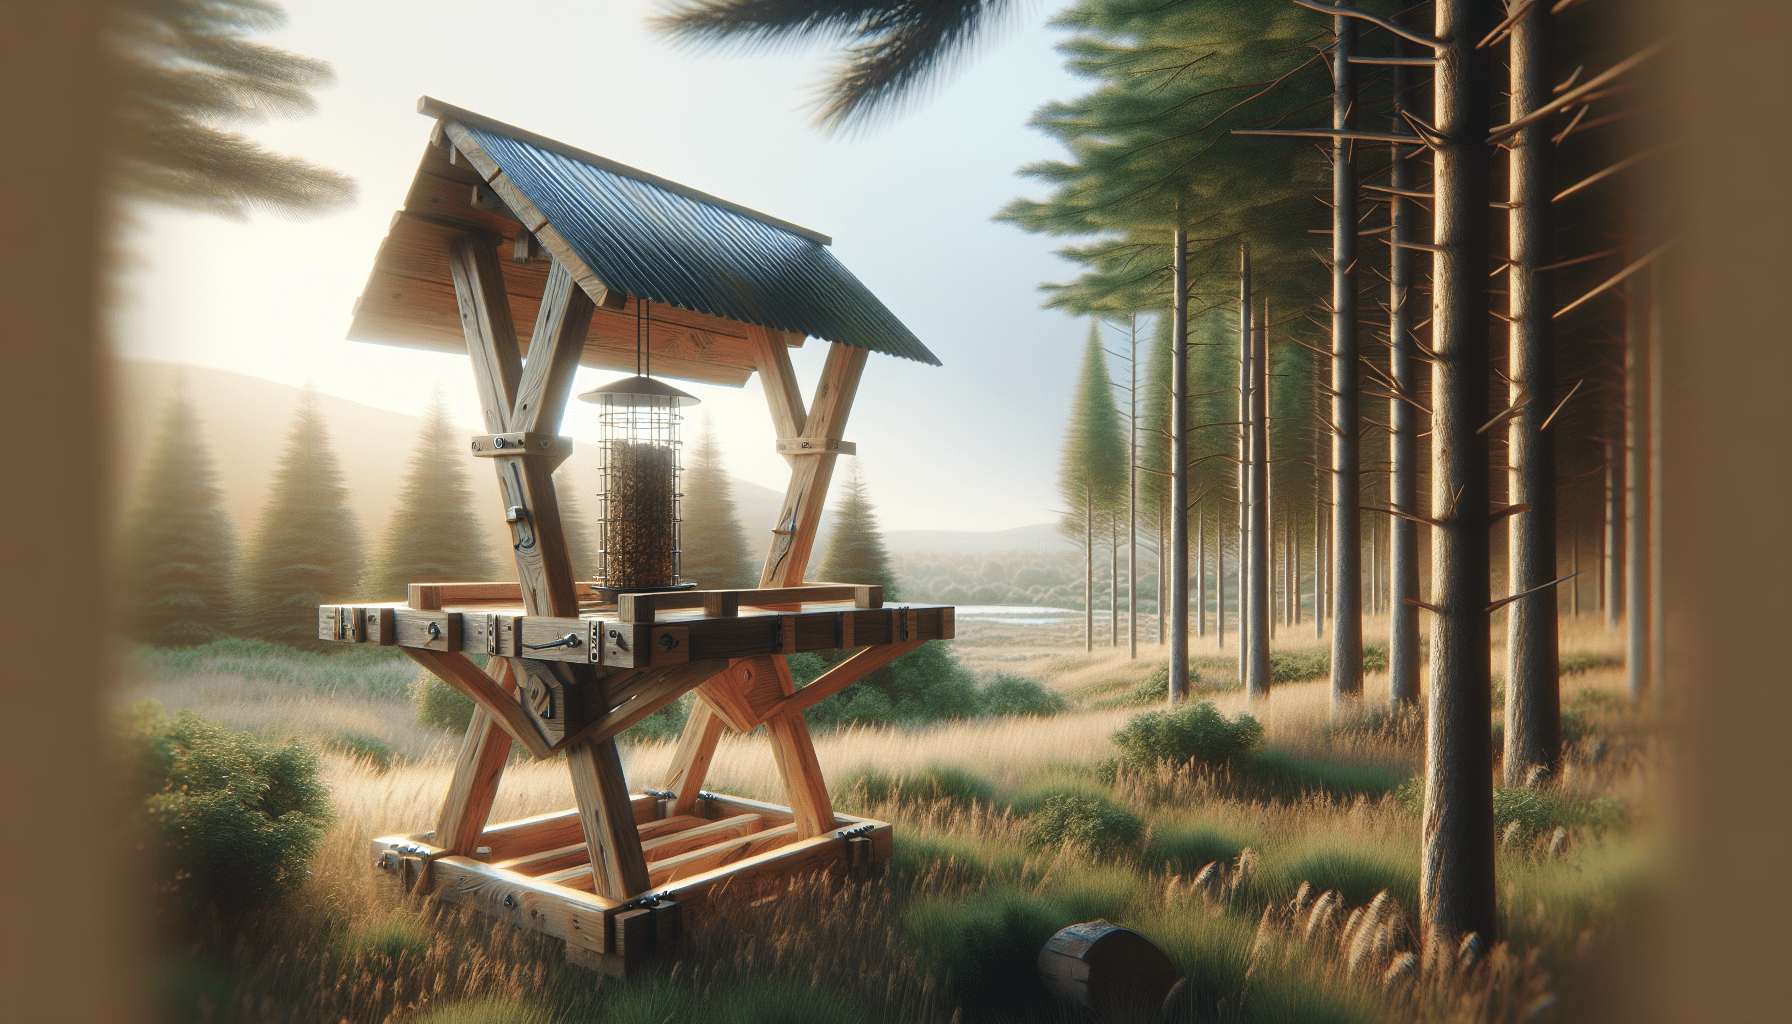
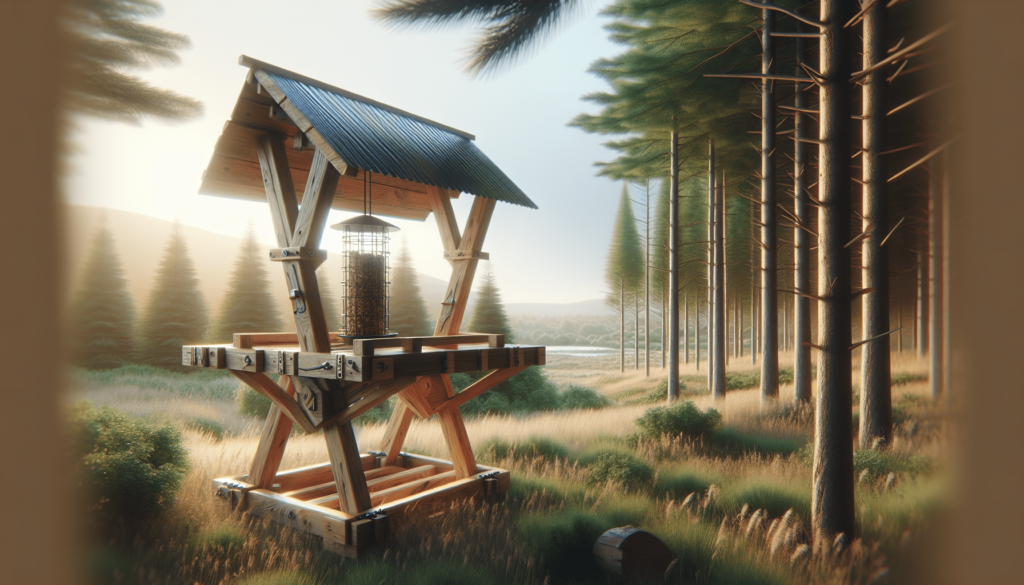
A sloped roof allows water to run off rather than pool, preventing potential leaks into the feed compartment. Here’s how to create an effective sloped roof:
- Angle: Aim for a 30-degree angle to ensure adequate runoff.
- Overhang: Include an overhang to protect the sides from direct rain.
Adequate Drainage
Ensure your feeder has drainage holes at the bottom. This will help eliminate standing water, preventing feed spoilage.
Insulated Compartments
For colder months, consider insulated compartments. This can help to keep feed at a more stable temperature, making it less likely to spoil or freeze.

Creating a Wind-Resistant Structure
Winds can be quite destructive, and your deer feeder needs to withstand gusty conditions.
Designing the Base
Having a strong base is critical. Here are some tips:
- Weight: Opt for heavier materials at the base to keep the feeder grounded.
- Staking: Bury posts or stakes into the ground to secure the structure further.
Windbreaks
If you live in particularly windy areas, consider placing natural windbreaks around your feeder. This can be anything from a row of shrubs to strategically placed boulders.
Regular Maintenance Checks
Weatherproofing your deer feeder doesn’t end once construction is complete. Regular maintenance is essential for ensuring that it remains weatherproofed.
Seasonal Inspections
Make it a habit to check your feeder at the beginning of each season:
- Spring: Inspect for any winter damage; check all seals and treatment applications.
- Summer: Look for signs of wear and tear that could compromise the structure.
- Fall: Reapply sealant as necessary and ensure that drainage holes are clear.
- Winter: Remove excess snow accumulation; check for freezing conditions affecting feed quality.
Cleaning the Feeder
A clean feeder not only lasts longer but provides better food for the deer:
- Empty and Clean: Periodically empty out any leftover feed; clean the compartments using soap and water.
- Disinfect: Consider disinfecting your feeder to prevent mold growth or pest infestations, especially in warmer months.
Tips for Enhancing Weather Resistance
Besides construction and design, implementing additional protective measures can further enhance the weatherproofing of your deer feeder.
Use a Cover
Using a removable cover can shield the feed from rain or snow when you know bad weather is coming.
Baiting Techniques
With feed being your focal point, it’s vital to know how to bait strategically. Place feed in areas that are somewhat sheltered, whether due to foliage or natural land formations.
Understanding Local Weather Patterns
Becomes invaluable when planning your deer feeder. Familiarize yourself with common weather challenges in your area.
Research Historical Data
Check historical data on precipitation and seasonal storms. This information can guide you on the necessary adjustments you might need to make, enhancing your design.
Administering For Emergency Situations
If your area is prone to extreme weather events, develop an emergency plan. Make decisions about whether to take down the feeder in advance to protect it or reinforce it against strong winds and excessive rain.
Conclusion
Weatherproofing your DIY deer feeder is not just about constructing a structure; it’s about creating a reliable food source for local wildlife that can withstand the forces of nature. Utilize quality materials, apply proper sealants, design effective drainage, and commit to regular maintenance. All these factors contribute not only to the lifespan of the feeder but also to the health and happiness of the deer depending on it.
Now that you have the expert tips to weatherproof your DIY deer feeder, you’re equipped to tackle any weather that comes your way. With your dedication to this project, you’ll not only have a functional deer feeder but also one that becomes a lasting part of your outdoor landscape. Keep an eye on your setup, enjoy the satisfaction of your handiwork, and watch the wildlife thrive as they visit the reliable source of food you’ve created.
As your experience grows, you may even discover new materials and techniques, expanding on your knowledge and continuing to enrich the lives of the deer in your area. So get out there, put those tips into action, and create a deer feeder that can meet the challenge of any weather condition!


