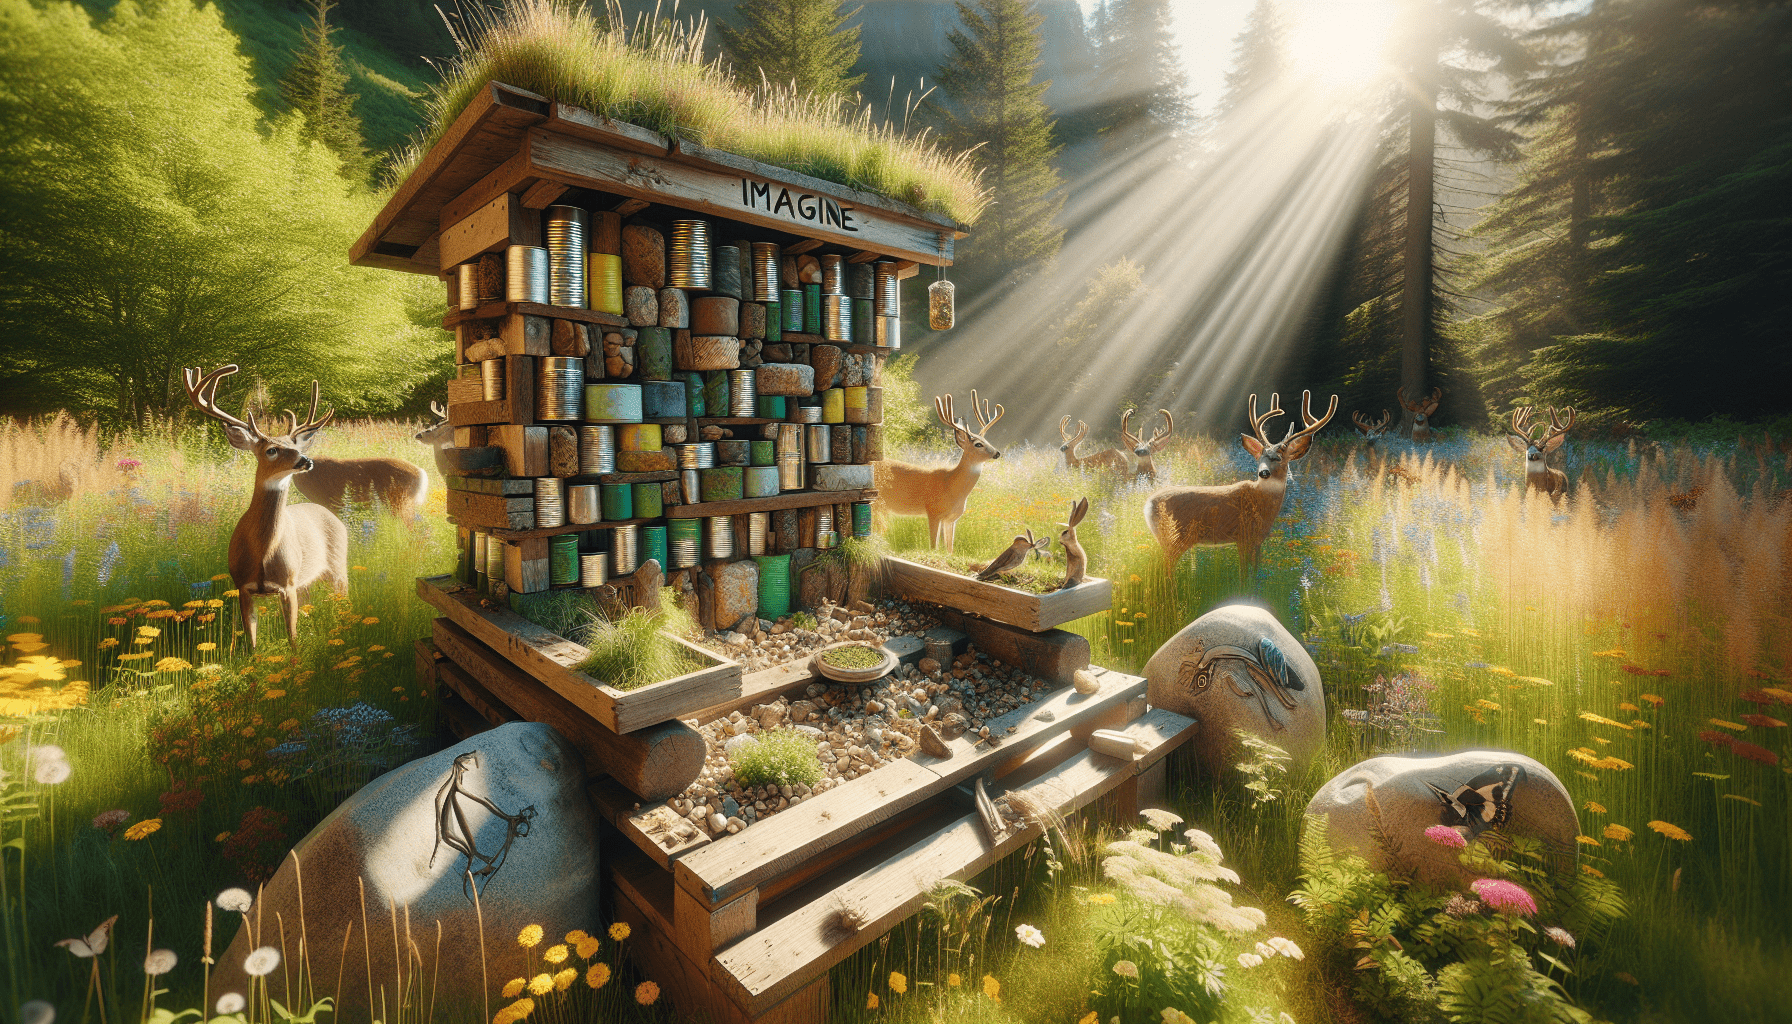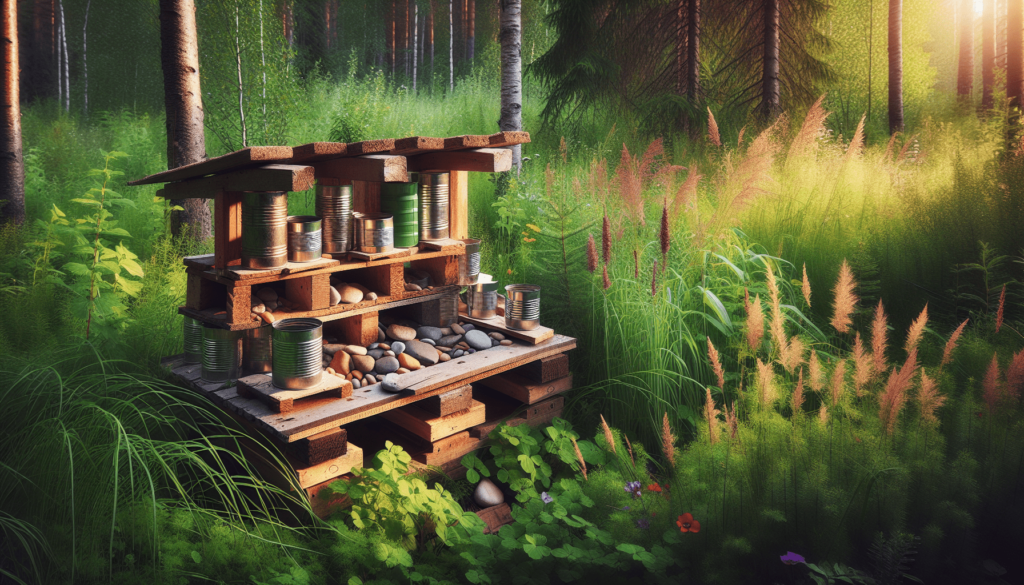
Have you ever considered how much joy observing wildlife can bring to your life? Creating a welcoming environment for deer in your backyard not only enhances your outdoor space but also fosters a connection with nature. One of the most eco-conscious ways to achieve this is by making a deer feeder using recycled materials. By repurposing items that might otherwise end up in landfills, you can help nourish local deer while doing your part for the planet.
Why Build Your Own Deer Feeder?
Creating your own deer feeder can be an enriching experience. Not only does it provide a reliable food source for deer, but it also allows you to express your creativity while being environmentally responsible. Building a deer feeder from recycled materials means you won’t need to buy new products, thus reducing waste and conserving precious resources.
Benefits of Feeding Deer
Feeding deer can have several benefits. It encourages wildlife observation and education, providing an opportunity for children and adults alike to learn about local ecosystems. Moreover, when done responsibly, feeding deer can help support their health, especially in areas where food sources may be scarce during harsh seasons.
Understanding the Needs of Deer
Before you start planning your project, it’s essential to understand what deer need in their diet and how to cater to those requirements effectively.
Dietary Needs of Deer
Deer are herbivores, primarily feeding on grasses, leaves, fruits, and nuts. In the colder months, their diet may consist of twigs and bark. When you’re building your deer feeder, consider including a variety of foods that can sustain them year-round.
Seasonal Considerations
The food you provide should also vary depending on the season. For example, in spring and summer, deer enjoy fresh greens and fruits, while in winter, they’ll need high-energy food sources to survive. You can incorporate different compartments in your deer feeder to allow for seasonal dietary changes.

Identifying Recycled Materials for Your Project
Now that you have a sense of purpose and understanding about deer, let’s move on to the materials you’ll need to build your feeder. Fortunately, many potential materials can be found around your home or through local recycling centers.
Common Recycled Materials
| Material | Description |
|---|---|
| Wooden Pallets | Often discarded, they can be disassembled for planks. |
| Old Buckets | Good for creating feeding troughs. |
| Plastic Bottles | Can be repurposed for dispensing food. |
| Cardboard Boxes | Useful for temporary feeders or insulation. |
| Metal Cans | Great for making sturdy bases or parts. |
Finding Resources
You don’t need to spend a fortune or research exotic materials. Check your pantry, garage, or yard for items that can be repurposed. You may also find great materials at local thrift stores or community swap events.
Step-by-Step Guide to Building Your Deer Feeder
With the materials in mind, it’s time to roll up your sleeves and get to work. Below are detailed steps to help guide you through the process of creating your deer feeder.
Designing Your Deer Feeder
The first step is to sketch out your design. Consider size, shape, and the materials you have on hand. Base your design on the number of deer you expect and the space available in your backyard.
- Shape: A rectangular or box shape is commonly used for stability.
- Size: Consider how much food you want to provide at one time. A larger feeder can hold more food and reduce the frequency of refilling.
- Accessibility: Ensure that deer can access the food easily without too much difficulty.
Gathering Tools
Here are some common tools you might need:
| Tool | Purpose |
|---|---|
| Drill | For making holes and joining materials. |
| Saw | To cut wood or other materials to size. |
| Screwdriver | For assembling the feeder. |
| Measuring Tape | To ensure accurate measurements. |
| Sandpaper | For smoothing edges and surfaces. |
Make sure you have everything in place before starting your construction.
Constructing the Frame
-
Cut the Planks: Start with your wooden pallets. Disassemble them if necessary, and cut the planks to the desired lengths for your feeder’s sides, base, and lid.
-
Assemble the Frame: Use screws or nails to join the pieces into a frame. Create a sturdy base to support the weight of the deer and the food.
-
Add a Roof: Installing a roof will protect the food from rain and snow. You can use more pallet wood or even an old piece of metal, such as a recycling bin lid.
Building the Feeding Compartment
-
Create Sections: Divide the interior of your feeder into several compartments if you plan to provide a variety of food. Use smaller planks or old cans to create dividers.
-
Ensure Accessibility: Cut openings on the sides or bottom of the feeder to allow deer to access the food. Make sure the openings are large enough for easy access but not so big that the food spills out.
-
Attach a Bottom: Adding a solid base ensures that the food stays contained. It also allows you to catch any leftover food that may fall.
Finishing Touches
-
Sanding: Use sandpaper to smooth rough edges to prevent accidental injuries to deer.
-
Weatherproofing: If desired, apply a coat of non-toxic sealant or paint to make your feeder last longer. This is especially important if you live in an area with extreme weather conditions.
-
Camouflage: If you’re concerned about aesthetics, consider painting or staining your feeder to blend in with nature.

Locating the Perfect Spot
Placement of your deer feeder is just as important as building it. Selecting the right location can significantly enhance its effectiveness.
Ideal Locations
-
Near Food Sources: Position your feeder close to natural food sources, like bushes or fruit trees. This will attract deer to your feeder.
-
Away from Human Traffic: Try to find a quieter spot away from where you typically walk or play. Deer are shy creatures, and too much human activity might deter them.
-
Visibility: Ensure your feeder is in an open area where deer have a clear line of sight. This makes them feel safer and more inclined to visit.
Safety Precautions
When placing your feeder, keep safety in mind. Make sure it’s stable and unlikely to tip over. Positioning it away from roads or high-traffic areas is also a smart choice for the well-being of the deer and your own peace of mind.
Maintaining Your Deer Feeder
Once you have your deer feeder set up and in place, it’s important to maintain it properly. A little care can go a long way in ensuring it remains an effective feeding station.
Regular Refills
Monitor the food level in your feeder regularly. Deer have a natural instinct to return to places where they find food, so refilling it regularly is key. The recommended food for deer includes:
- Corn or deer pellets
- Apples or other fruits cut into smaller pieces
- Alfalfa hay
Cleaning
To prevent moldy food and discourage unwanted pests, clean the feeder every few weeks. Remove any leftover food, and wash down surfaces to keep them sanitary.
Inspect for Damage
After storms or extreme weather, check for any damage to your feeder. Make necessary repairs to ensure it continues to serve its purpose effectively.
Engaging with Nature and the Community
Building and maintaining a deer feeder doesn’t just bring joy to you; it can also be a great way to engage with family, neighbors, and the community.
Involving Family and Friends
Involving others in the project can deepen appreciation for nature and wildlife. Consider organizing a small get-together where everyone can participate in creating the deer feeder. It’s a wonderful opportunity to share stories, bond with your loved ones, and create lasting memories.
Educational Opportunities
Take the time to educate yourself and others about deer and local wildlife. Understanding their behavior, migration patterns, and dietary needs adds an enriching layer to the experience of watching them visit your feeder.
Respecting Local Wildlife Regulations
Before you proceed too far with your project, it’s essential to educate yourself on local wildlife regulations. Many areas have specific guidelines on feeding deer, especially to prevent issues related to over-population or disease spread.
Research Local Laws
Check in with your local wildlife authority to understand the rules in your area. Some regions may prohibit the feeding of deer altogether, while others may have specific requirements about locations and types of food.
Ethical Feeding Practices
While you want to help local deer, it’s best to avoid creating dependency. Feeding should supplement their natural diet rather than become the sole source of food. Implementing responsible feeding practices, such as appropriate quantities and seasonal adjustments, is key.
Reflecting on Your Project
At the end of this rewarding journey, take a moment to pause and reflect on your experience. Not only have you contributed to the well-being of local wildlife, but you’ve also engaged in an eco-conscious project that benefits the environment and community.
The Joy of Wildlife Observation
Perhaps the most delightful aspect of your new deer feeder will be the joy of watching these beautiful creatures. Settle down with a cup of tea or coffee, and see who comes to visit. You might find yourself fascinated by their behavior, from the gentle nibbles of a timid doe to the curious antics of young fawns.
Continue the Journey
Your eco-conscious project doesn’t have to end with just one deer feeder. Consider taking on additional wildlife-friendly projects using recycled materials. Birdhouses, squirrel feeders, or habitats for other small animals can further enhance your backyard’s ecosystem while providing you with countless opportunities for family bonding and wildlife education.
Building a deer feeder from recycled materials is a fulfilling and environmentally friendly approach to connecting with nature. With each thoughtful choice you make, you contribute to a healthier planet and a richer life for those around you. The simple act of providing food can turn your backyard into a thriving wildlife oasis, benefiting both you and the creatures you share it with.


